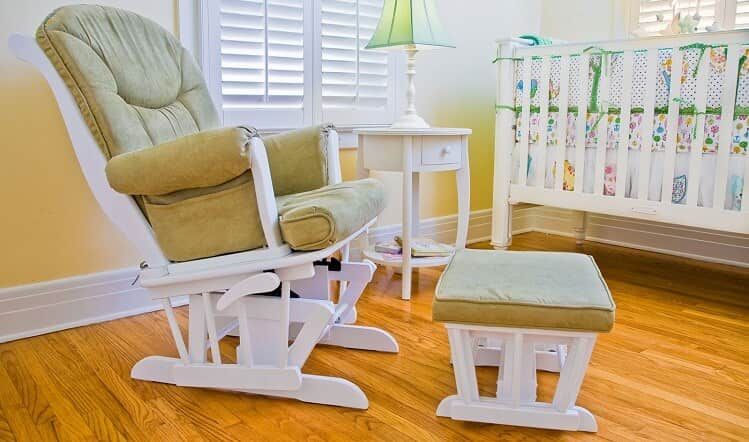
Replacing a nursery glider cushion is one proven way to improve the life span. Using the same glider repeatedly, with each baby, is an excellent way to save money.
Perhaps you bought a second-hand chair that lacks cushions, or the one you have is worn-out, and it needs replacement. Understanding how to replace nursery glider cushion can make your chair look as good as new. Here are some artless steps that you can follow to meet your objective.
Gather Everything you Need
For starters, identify the fabric that you wish to use on your glider. Get all the materials required for the process before starting anything. Such include fusion tape matching the color of your fabric and stuffing materials for your cushion. It is advisable to take measurements to ensure that your material will be enough.

Open the old Pillow.
Using a pair of sewing scissors, gently tear the buttons apart, if there are any. You can use a seam ripper as well. Open the joints by the sides or around the bottom of your cushion. Be cautious to only cut through the stitches, safeguarding the fabric.
Use a seam ripper to isolate the cushion as you pull its cover away to open it. Identify the fabrics’ wrong side, ensuring that it faces up. Place the cushion cover on top, with its right side facing down.
You must be patient and cautious when handling your old material in this stage. That is because your fabric pieces must come out intact through to the end of the process.
It is advisable to study how the seams appear to make it effortless for you when sewing back. Taking pictures is a brilliant idea. However, sewing it the same way may not be your wish, but at least, you will have a picture of the original setup.
Cut Your New Fabric
After tearing apart the old materials, use the pieces of fabric when making the new one. Use straight pins to merge the parts to your new textile.
Inspect your new fabric, and trace around the cover pieces. Make tracing marks using chalk or a pen. Using a pair of scissors, cut the patterns you have marked.
Stitch the new Pillow
Before stitching, put the cloths to the outer side of your fabric. That will allow you to hold the cushion firmly to the glider, which prevents them from moving around or being detached.
Using the notes you made when tearing the old piece apart, it is now time to sew back. Identify the right sides of the two cushion covers and place them facing each other. Stitch around the edges of the pieces.
Ensure that the stitches are similar to the initial seam width of the cushion cover you dismantled as possible. One section of around 10 inches at the edge should remain unstitched.
Balance the Fabric
There may be excess fabric dangling outside the edges of the seams. Use a pair of scissors when trimming the overhanging materials of your cover and make slits in the fabric. Your cuts should be perpendicular to the stitches. They make the corners appear uniform at the final stage.
Flip Your new Cushion.
All along, the cushion cover has been inside out, and it is now time to flip it around. Use the space that remained unstitched to turn the cushion cover. Using the opening, you can now fill the foams that were in the old cushion. Fold the open edge inwards and stitch it to conceal the space. You can use a needle or a sewing machine.
Replace the Buttons
Were there buttons in your old cushion? Well, identify the exact locations where they were, and arrange them systematically. Sew the buttons using a needle in all layers. A sturdy embroidery needle may be necessary in this case for accuracy purposes.
Finish up
Using a screwdriver, remove the wooden and fabric part from your nursery frame. Pliers and a flat screwdriver are ideal for removing the textile. The old material can serve as an example when cutting a new piece for the nursery.
You can as well substitute the foam to give it an excellent appearance. An electric carving knife is a great choice when cutting dense foam.
Spread your fabric with the right side facing down, and then place the foam and the wood on top. Ensure that they lay in the middle of the textile.
However, if your fabric has patterns that need to be in a particular layout, place the wood first, and lay the foam on top. Your textile should then come last, with the right side facing up. Gently flip them over, and attach the fabric to the wood at the back. Finish off by folding and stapling all the corners.
The process of replacing a nursery glider cushion brings a magical experience as you watch your old fabric turn into a new one. All the steps involved are less complicated, and the materials are not hard to find, as well.
Most of them are locally available, or you can place an online order if it is necessary. You may not be able to prevent the cushion from getting rugged and old, but you can restore its glory.
Related Post: How to clean a nursery glider?