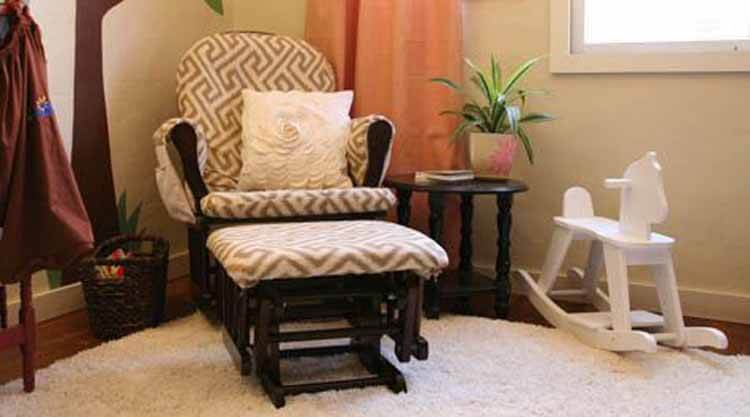
Welcoming a baby into the house means a lot of preparation beforehand. Since the nursery is where the baby will spend most of his/her time, parents try to make it as perfect as possible.
Besides a crib, dresser, changing table, toy cabinet, other necessary furniture in a nursery is a glider. Moms can breast-feed, read, or put their baby to sleep while on it. The comfort and relaxation a glider provides are second to none.
When the glider or its cushions get stained, it can be a real bummer to recover it. But don’t worry. We will walk you through the entire process of how to recover nursery glider cushions. So, read ahead to acquire the knowledge.

What to Do When Nursery Glider Cushions Get Stained?
New parents are accustomed to babies being messy and dirty. Since they cannot clean after themselves, parents need to be vigilant at all times. Here is a list of ways you can get rid of the stain quickly:
The Instant Method
If you let stains dry on your glider instead of removing it immediately, it will be impossible to remove it later. Moreover, it will reduce the longevity of your glider cushions. Fresh stains can be removed using a spray or a special cleaner.
The Washing Method
Removable covers make it possible to wash and reuse the body. Use a generous amount of detergent to take out the stain thoroughly. However, sometimes washing does not get rid of the marks, then you can use new fabric to recover it.
Steps to Recover Nursery Glider Cushions:
Being new parents is already a challenge in itself, but not everything has to be a stressful struggle. If your trusty glider cushions are in decrepit condition, we will explain how to recover it without much fuss.
The steps are outlined below:
Step 1: Collect All the Materials
There is a list of materials you will need to recover the cushions – a fabric of your choice, a sewing machine, fabric scissors, upholstery thread, long needle, iron and ironing board, quite a lot of pins, and seam ripper.
Step 2: Iron
Carefully separate the cushion cover from the foam with the help of a seam ripper. Iron the old fabric that you just separated on the ironing board. Place the old fabric on top of the new material. Once they’re aligned, pin them together.
Step 3: Cut and Stitch
Cut the new fabrics following the length of the original one. Discard the excess fabric or keep it in store for later use. Next, pin the two new pieces of fabric on three sides to sew around the edges. Pinning the fabrics allows you to maintain a proper shape.
Turn the cushion inside out and leave one side open so you can put it back on the foam. Remember to use the same seam allowance as the old cushion.
Step 4: Recreate Patterns
This is an additional step in case your fabric has pleats or any other patterns. Moreover, this can be achieved with ease if you try to hand stitch instead of using the sewing machine. You can use the sewing machine later to hem the bottom part. Make use of the upholstery thread and needle to do this job.
Step 5: Add a Zipper
Change the foot of the sewing machine from regular to zipper for safety purposes. Take the correct measurements to sew in the zipper to the fabric. The cushion cover can now be changed to the right side.
Step 6: Fix Any Mistakes
After you flip the cover right side up, you may notice that certain parts of the fabric are not adequately sewn, so they appear a bit distorted. Do not fret. Mark these slip-ups with a pin, then turn it inside out again. Sew along the marked line, and your mistake will be fixed.
Step 7: Repeat
Repeat steps 2-5 for the other cushions on the glider. You do not have to do this if you wish only to recover one of the cushions. We highly recommend using a basting stitch for the top cushion and to sew the tucks in the back cushion.
Step 8: Ready for Reuse
Now that you are done with the entire process, you can insert the cushions on your glider and go back to using them again.
Recover Your Cushions Today
Maybe your cushions got stained, or perhaps you want to change the fabric to a design you like better than the current one. No matter the reason, once you have all the materials, you can DIY it within an hour and have a cushion that is as good as new.
Have some patience because this might be a little time-consuming, but it is not an impossible task. The finished product will make all your hard work and time spent worthwhile.
You have now acquired all the knowledge about when and how to recover nursery glider cushions. So get down to work today!
Related Article: How to replace nursery glider cushion