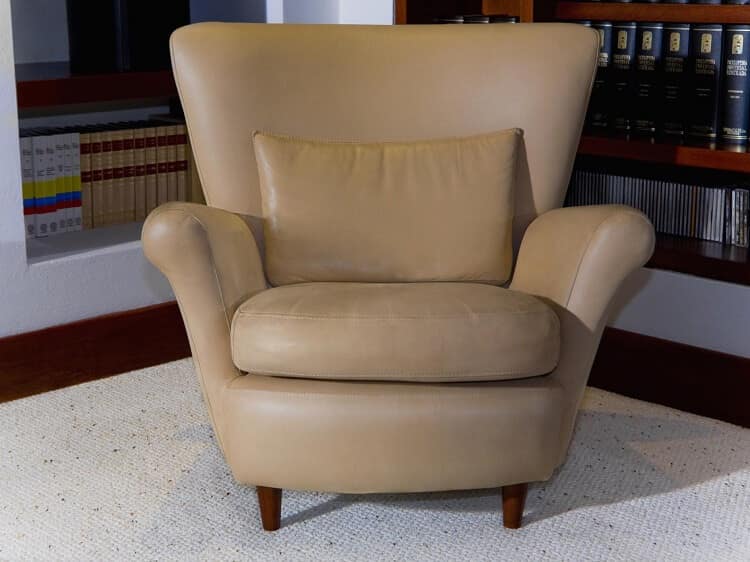
Picture this: you’re tired after a long day, and all you want is to relax into your favorite chair, when you find that the upholstery is starting to rip, right along the edge of the chair.
Whether your upholstery is tearing and dirty, or you want to give your chair a facelift, learning to reupholster a chair is an amazing skill to have. Once you know how it isn’t that hard, and it’s a skill you can carry throughout your life. Here’s how you do it.

A simple guide to reupholster a reading chair
This guide will work for a variety of chairs, but depending on how thoroughly you want to reupholster, or what you want to reupholster, you may not need to complete all of these steps. If you are reupholstering a cushioned chair, you need to check the batting, but if you are reupholstering a bar stool, you will not.
In addition, welting-cord is just for cushioned reading chairs and is not needed on all chairs or required.
Gather Materials
To properly reupholster your reading chair, there are plenty of materials that you need. Here are some basic materials:
- Needle-nose pliers
- Scissors
- Staple Gun and Staples
- Batting
- Fabric
- Welt-cord piping
- Upholstery Thread
- Fabric for the underside of the chair
Remove Old Material
If needed, remove the old fabric by disassembling the chair. Pry back the upholstery and remove the bolts to easily take apart the chair; If your new fabric is thick enough, you will not need to remove the old material, and you will be able to attach the new material right over the top.
Replace Batting
If the chair you are reupholstering has batting on it, inspect the batting to see if it is dirty or stained. If not, you need not replace it. If it is not as clean as you would like, you can remove the batting as you did the fabric.
Make sure you use batting that will work for you. There are a variety of kinds, from polyester to cotton.
Cut a piece of batting to fit the bottom and back of the chair and gently staple it down. Fold the batting around the corners to prevent bunching in the finished chair.
Make a new pattern
Depending on the difficulty of the original pattern, you have two choices. You can either free-hand a pattern for the chair or lay the old pieces of upholstery onto your fabric and cut a pattern. Make sure you leave extra space on the edges in case of mistakes. It’s better to be safe than sorry.
Again, make sure the quality and material of your fabric are right for you. You will have to sit on it for years if all goes well, so make sure you like it.
Attach the fabric
Now that you have the pattern, it is time to stable it onto the chair. Center the fabric on the chair and flip the seat so you can see the back placed in the center of the pattern of the material.
Next, fold the fabric around the seat. You may want to ‘pleat’ or fold the material under the cushion so that it lies flat against the chair. Staple the fabric securely to the bottom of the seat.
Depending on the type of seat, this may be the last step for you. If you are upholstering a bar stool or a smaller chair, you may staple and finish. Otherwise, keep reading.
Make new welting
Determine the length of the welting-cord piping needed to wrap around the whole seat of the chair. Cut the welting to the length.
Cut strips of matching fabric wide enough to wrap around the width of the welting-cord with about an inch of extra space and use the zipper foot attachment on your sewing machine to sew the fabric into place.
Attach the welting
Pin the welting into place around the chair, to ensure that you have enough welting to go around, and to ensure that the welting will be straight when it goes on.
Carefully sew the welting-cord into place around the seat of the chair. For a nice finish, fold the cord under at the end before finishing.
Finish the underneath
Finally, we will finish the underneath of the chair. Take a piece of black, breathable fabric that can cover any springs or raw edges of the upholstery fabric. Glue the piece of fabric firmly against the underside of the chair to act as a dust cover. It can also camouflage any springs or edges.
Conclusion
Although it is an intimidating task, reupholstering your chair is not that difficult now that you have a simple instructional guide. Soon, you will be reupholstering chairs in your sleep. Now that you know how it will just get simpler, and your options for design and redesign will grow larger and larger.
Don’t fear wear and tear on your favorite chair. Now that you know how to fix it, you can use your chair to your heart’s content with no worries.